
Blogs
How to Change a Wheel Seal on a Semi Truck

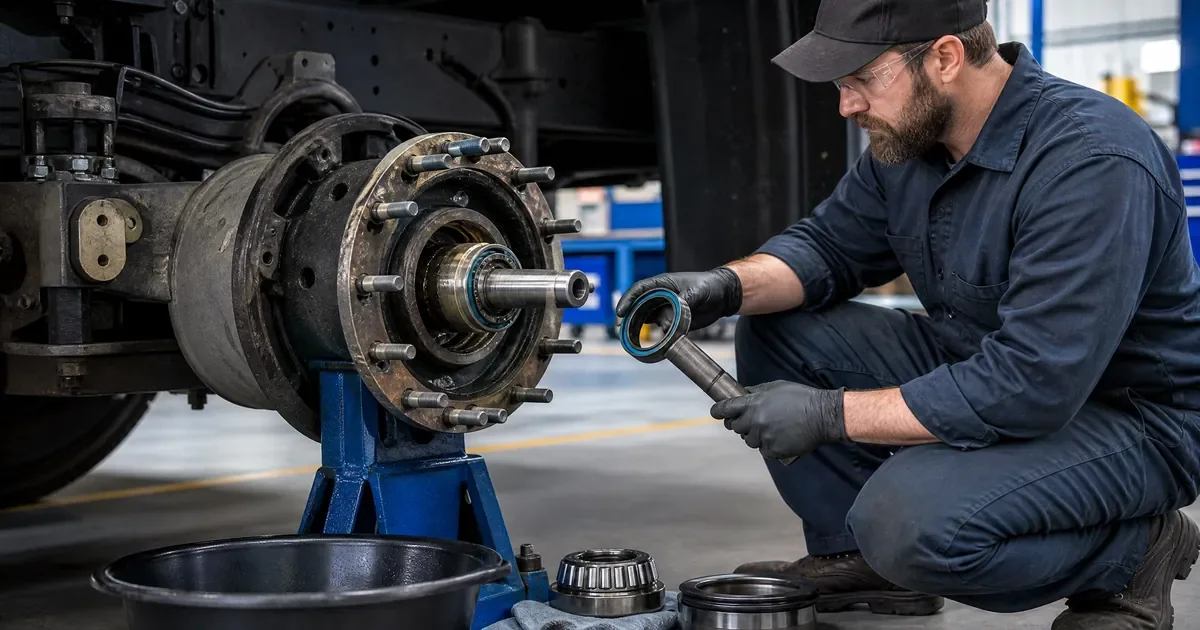
You noticed the telltale smear of oil around the inside of your wheel or running down your hub cap during your pre-trip walk-around. A leaking wheel seal is one of those repairs you don’t want to put off, because the oil that’s escaping from the hub isn’t just making a mess. It’s contaminating your brake linings, and a set of brake shoes soaked in gear oil is a set of brake shoes that won’t stop your truck reliably.
Understanding how to change a wheel seal on a semi truck helps you have an informed conversation with your shop and gives you a clear picture of what the job actually involves. Whether you’re tackling this yourself with the right tools or preparing for a professional repair, our truck brake repair team recommends addressing wheel seal leaks immediately to prevent brake contamination.
Getting Set Up Safely
Learning how to change a wheel seal starts with safety. Park on a solid, level surface, apply the parking brake, and chock the wheels you’re not working on. Use a floor jack rated for the axle load you’re lifting, and always support the axle on proper jack stands before removing any wheel hardware. The weight of a commercial truck axle is not something you work under, supported only by a jack.
Removing the Wheel End Components
Remove the outer lug nuts and pull the dual tires off as a unit if they’re mounted together. Set them aside where they won’t roll. Remove the hub cap or axle cover and drain any remaining gear oil from the hub cavity. On a typical steer or drive axle, you’ll next remove the adjusting nut lock and the wheel bearing adjusting nut using the correct spanner socket. Keep track of the outer bearing as it comes off, since it’s easy to drop during this step. Slide the hub and drum assembly off the spindle carefully, supporting the weight as it comes free. The suspension components you encounter during this process are the same ones our truck suspension repair team services daily.
Removing and Installing the New Seal
With the hub on a work surface, locate the inner bearing and press or drive it out along with the old seal. Inspect the bearing for wear, pitting, or discoloration from heat before deciding whether it needs replacement alongside the seal. Clean the hub bore and spindle thoroughly before installing the new seal. Coat the outer edge of the new seal with a small amount of gear oil and press it squarely into the bore using a seal driver or a properly sized socket that matches the seal diameter. Never drive a seal in crooked, as this is how to change a wheel seal on a semi truck incorrectly and guarantee a repeat leak.
Reassembly and Bearing Adjustment
Pack the inner bearing with fresh wheel bearing grease and reinstall it before sliding the hub assembly back onto the spindle. Reinstall the outer bearing, then snug the adjusting nut while rotating the hub to seat the bearings. Back off the nut and re-torque to the manufacturer’s specification, which varies by axle type but is typically very light, around 50 foot-pounds followed by a partial turn back to align the lock. Check for the correct amount of end play using a dial indicator if possible, since proper bearing preload is critical for how to change a wheel seal on a semi truck correctly. Refill the hub with the correct amount and type of gear oil before reinstalling the hub cap. After reassembly, it’s a good idea to review how to check disc brakes on a semi truck to make sure the brake system is functioning properly with the newly sealed hub.
Let a Professional Handle It If You’re Unsure
Wheel seal replacement done incorrectly leads to repeat leaks, bearing failure, or, in the worst case, a wheel end that comes apart on the highway. Avanti Fleet provides wheel end service, including wheel seal replacement, for commercial trucks throughout Vancouver and the Portland metro, with technicians who do this job daily and have the right tools for the correct result. Give us a call to schedule wheel seal service and get it done right the first time.